
Yeah.
I've pretty much come full circle with this zebra thing. It started as a design for only the front side of the knife. Then I wanted a simple image on the back. Then I came up with two really "wowzer" images, one for the front and one for the back. Then I realized that's overkill (that and Don C. told me it wouldn't really up the selling price that much to do that). And besides, the "back" image is cool enough to be a front on some other knife. Don't put your good stuff on the B-side, right? So then I went back to thinking maybe something simple on the back. Or maybe nothing. Either is okay, really. It'll come down to time. I have two MAJOR projects due in early to mid May (this knife and a set of pistol grips) and each one deserves my full attention. If that means not doing the backside of the knife, that's okay.
So, while I sit here right now going tappity tap on the keyboard I'm not sure where this blog is going but I'll show you a bunch of pics and try to say something moderately intelligent and maybe when I'm done it'll make some sense and might even mean something to someone.
I feel like I should say something rather broad and general about drawing. It's the foundation for everything else. Well, not like everything in the world, but for engraving, scrim, painting, and at least for me it's the basis for sculpture. All the great technique in the world can't save a bad foundation, so all this preliminary stuff that some people complain about because it takes time, well my gosh this is perhaps the most important part, so you'd better get it right! :-)
Learn your subject. Understand your subject. Study it if you have to. Know it from the inside out. Understand the structure and how parts go together and move. When I draw chickens, I start a sketch by drawing (this is going to sound weird) but basically a carcass. You know, drumsticks and little wings all folded up. Mmm, I'll have to show this to you some time. It's just that if I can get the "underparts" correct, I can get the feathers in the right spot.
A familiarity with horses is definitely a bonus in this zebra project, but they are definitely NOT striped horses in terms of their conformation!
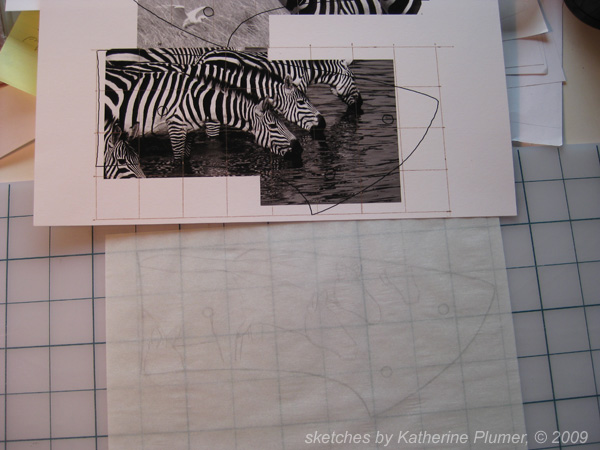
Okay, so as I said in an earlier post, I like to figure out compositions in Photoshop. I can easily move my reference material around until I figure out what works. (In the olden days I'd do a bunch of "thumbnail" drawings, and sometimes still do, but this is a timesaver, and we all know time is money... or so they tell me).
Ah, where to find photos! Man, I remember trying to find reference material back in the days before internet. It was... a pain in the asterisk to say the least.
Stock photo websites (some free, some not, I bought a couple of photos for this project):
http://www.istockphoto.com
http://www.corbis.com
http://www.morguefile.com
http://www.wetcanvas.com/RefLib/(I think you have to be a member to use this one)
http://www.flickr.com/search/advanced/ and check the "creative commons" box
I'm rambling. Time to throw in some photos. This is a hodge podge of pics from both sketches, but I'll try to make some sense of it.
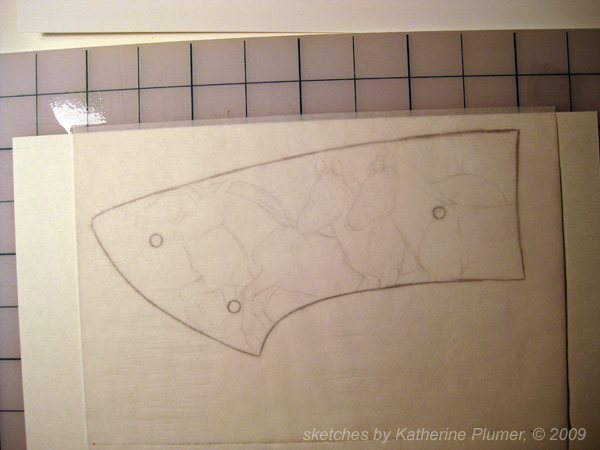
Gridding: this is a way to transfer an image. I'm not a slave to the grid though. I change things as I go, but it's a way to make sure I get the proportions correct, and make sure the figures are the proper size in relation to each other. The idea is you can then just draw one square at a time, but you REALLY need to pay attention to the big picture when you do this, pay attention to the curves and where the lines intersect, and think about the FORM you are making, not just "this line goes halfway through that square"). Understand what you are drawing. Give it life. When you're dealing with an image like this, particularly for something so SMALL, it's really important to get it all right! So first I draw a grid on the reference pics:

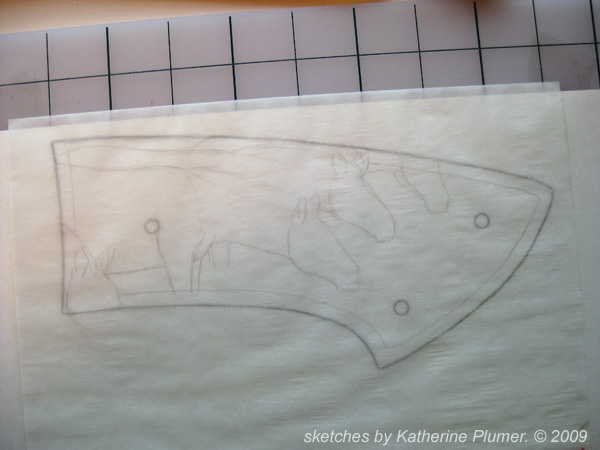
I use my cutting mat as a grid for the sketch itself (if I want 1 x 1 inch grids, otherwise I draw on the paper). I use tracing paper a lot. Not because I trace stuff, but I often end up layering sketches if I make corrections as I go, plus on something like this I have the knife outline (greatly enlarged) on one sheet but I'll use another for the sketch itself. And tracing paper is easy to erase. That may or may not make sense but here's a photo either way, and then of course when I put that top sheet down it makes one image:
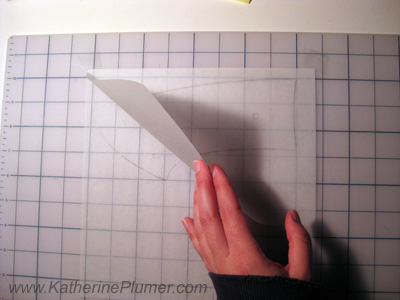
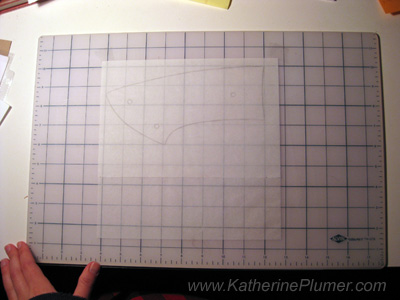
And if I slip a piece of paper underneath I don't see the grid, which is what I do after I get the basic layout down:
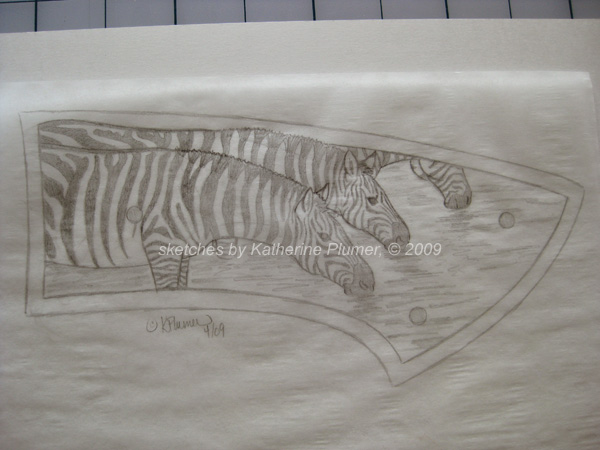
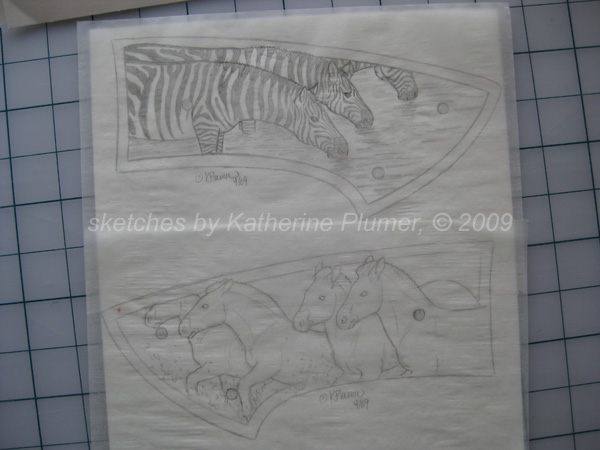
This is actually the sketch for what was going to be on the back of the knife (and now likely won't be on this knife at all, but that's okay, I can use it elsewhere). First I've just got the basic shapes kinda roughed in, and the I add a little more detail, and then when I'm sure that's all good I go over it again to really solidify everything. I like this image quite a bit with the zebras splashing through the water. I did not get around to adding their stripes, because somewhere around here I was thinking I wouldn't be using this.
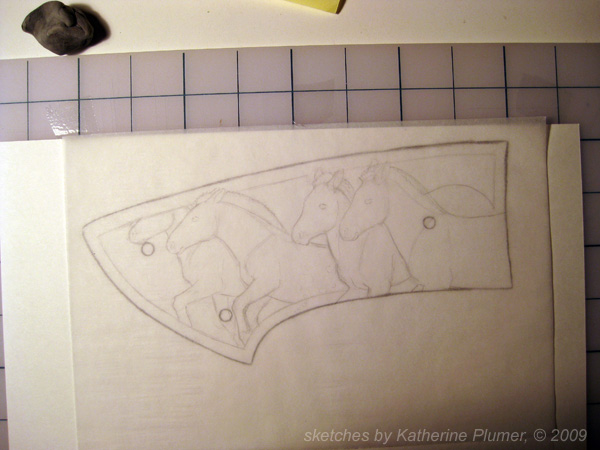
Here's the reference pic for side 1 with a roughed sketch. Again, not a slave to the grid.
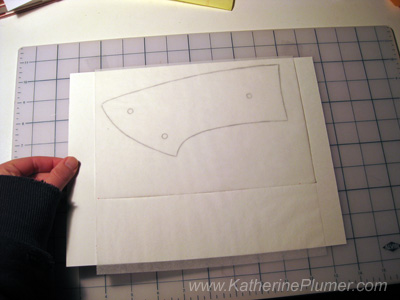
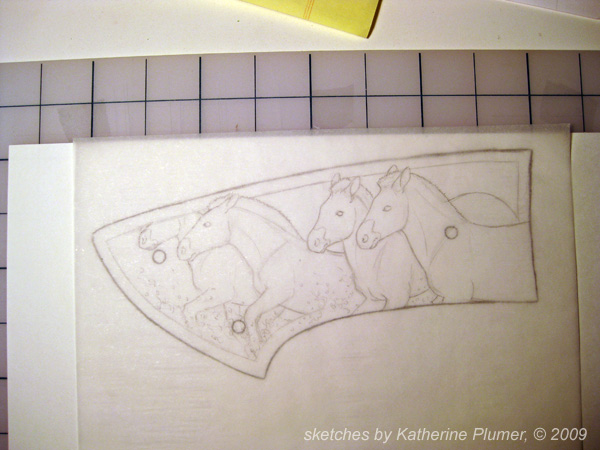
La la la, got all absorbed in it and forgot to take pictures until I finished, and somewhere along the way I removed the foreground zebra head that was in the previous pic. If I'm NOT using the other image on this knife, I don't need to put 4 zebras on the front. I like 3 better anyway.
Both sides together. They're very neato together, but either will stand alone and it's water ripples that actually got me thinking along these lines anyway, that will go great with the damascus blade, and that's why I'm using the image that I'm using.
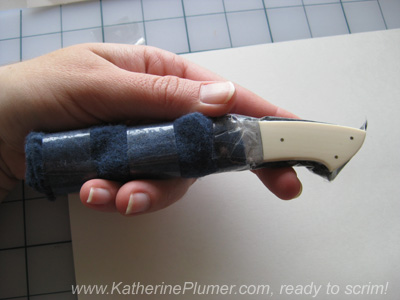
The knife is "muzzled" (as my mom said) with felt and tape so that I don't impale myself and also to keep all the parts I'm not working on safe from any accidental scratches.
I outlined the main parts with ink, scanned it, shrunk it, printed it out, and am ready to tape this to the knife:
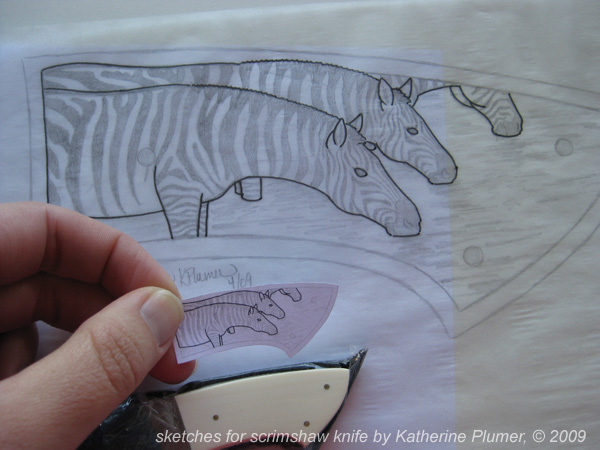
Taped on and ready to transfer! My hands don't really have that green tinge, this was under the fluorescent microscope light, it always makes things look green in the pics.
That's all for today, this is WAY LONG anyway.
2 comments:
Katherine,
I was worried about the brads that hold the knife handle on. Not only did you nullify their distractions...you actually brought them into the focal point . I am impressed! This will be a fine piece of work.
Aaron
Thanks Aaron! I'm not too worried about them since they're small, and the over-all image will be pretty dark so I think they're going to blend right in!
Post a Comment