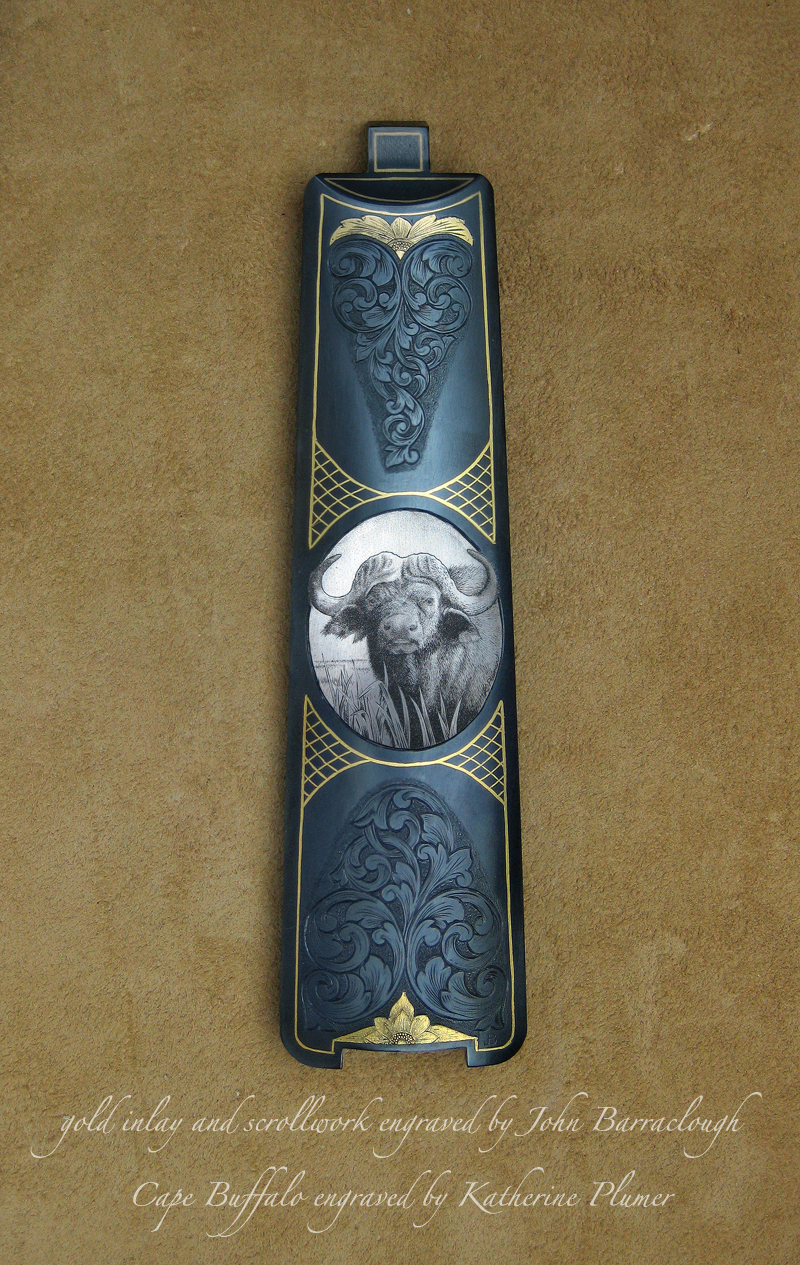
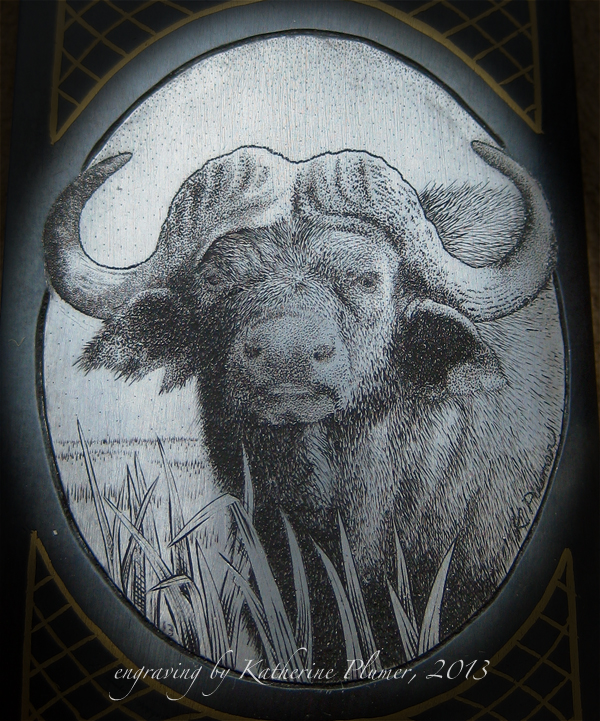
This is a floorplate for a Winchester Model 70 rifle. This part, in very simple terms, goes underneath behind the trigger. The scrollwork and gold inlay was done by John Barraclough. I engraved the Cape Buffalo in what is known as "bulino" style. This is NOT scrimshaw (it's NOT ivory). This is on steel. Yeah, I engraved metal. ;-) And I'm gonna do it again!
Showing posts with label bulino engraving. Show all posts
Sunday, July 14, 2013
Tuesday, July 27, 2010
July 27 work in progress
I hope the pink t-shirt doesn't throw you too badly for a loop. It was just that I happened to have the engraving under the scope when I was ready to take pics, rather than the black background you usually see!

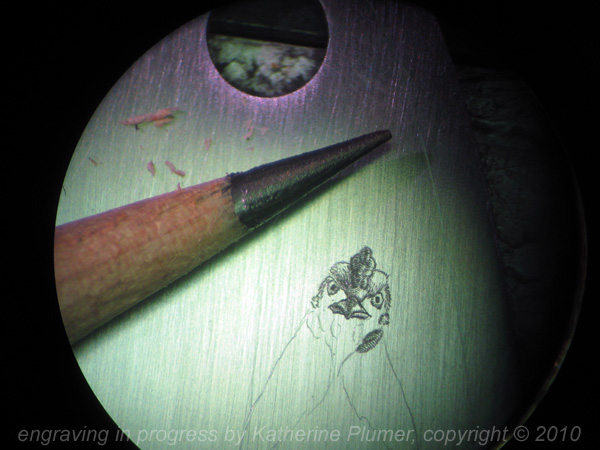
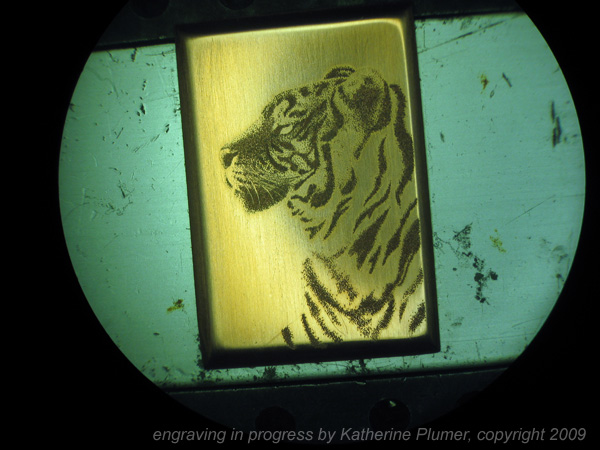
Yes, I'm trying my hand (uh, literally) at engraving again. I'm a tad jealous that a bunch of my friends are soon going to be in Kansas for the two-week Grand Master engraving class learning Italian bulino engraving, so it's inspiring me to try it again. I definitely don't have the comfort level with this that I do with scrim! This is on steel. Pencil lead is shown for scale. The pic is taken through the microscope, so you're seeing what I see when I work.

Yes, I'm trying my hand (uh, literally) at engraving again. I'm a tad jealous that a bunch of my friends are soon going to be in Kansas for the two-week Grand Master engraving class learning Italian bulino engraving, so it's inspiring me to try it again. I definitely don't have the comfort level with this that I do with scrim! This is on steel. Pencil lead is shown for scale. The pic is taken through the microscope, so you're seeing what I see when I work.
Wednesday, March 11, 2009
my second engraving
This has been done for about a week. I keep meaning to take a really top notch photo, but that seems to be eluding me, so I'm going to go ahead and post this mediocre photo.
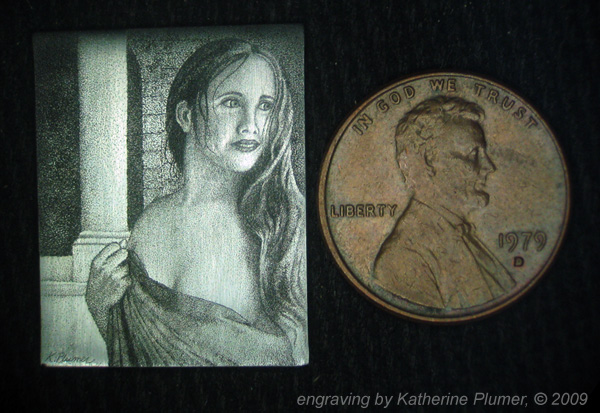
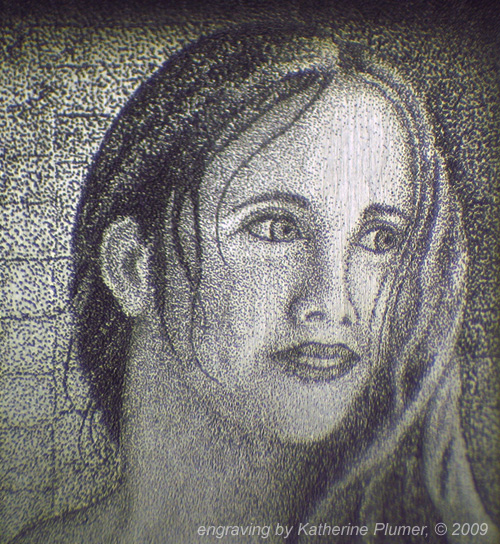
This is my second engraving on metal, done in the "bulino" style. This image is created entirely with dots. The process is a lot like scrimshaw. This is on steel, and is 1 by 3/4 inch. I am trying to learn to use lines as well, but that does not come as easily to me. Stay tuned for lines. And scrolls. My scrolls look like drunken snails right now.
I wish you could all see these things in person, they're so different in person. So little!
These photos are taken through the microscope, which has better clarity in the center of the field of view.

And just to give you a sense of the dots:
This is my second engraving on metal, done in the "bulino" style. This image is created entirely with dots. The process is a lot like scrimshaw. This is on steel, and is 1 by 3/4 inch. I am trying to learn to use lines as well, but that does not come as easily to me. Stay tuned for lines. And scrolls. My scrolls look like drunken snails right now.
I wish you could all see these things in person, they're so different in person. So little!
These photos are taken through the microscope, which has better clarity in the center of the field of view.

And just to give you a sense of the dots:
Wednesday, January 28, 2009
Tiger Engraving finished
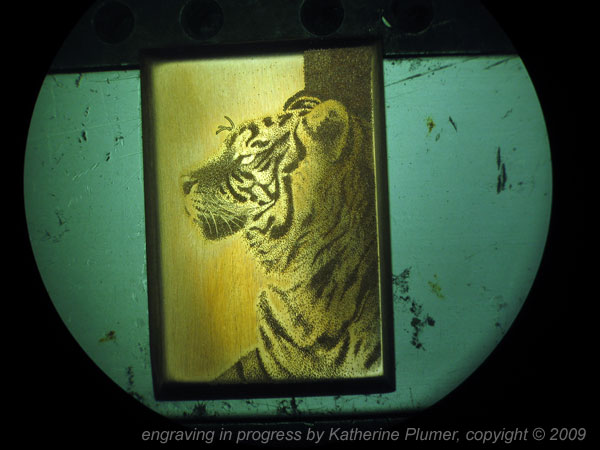
I finished this late Friday night last week. Well, technically early Saturday morning. ;-) This is my first attempt at a technique called bulino, which is named for the particular type of tool that's used. This was all done by hand (which nearly killed my hand!).
On the bright side, it looks like a tiger, so that's good! Definitely a good start but there's a LOT of room for improvement, so it's very much a learning process. I over-polished the piece, it should not be so shiny. Blame my art background for that one. ;-) In the world of printmaking, plate tone (the ink that would catch on a non-polished plate and therefore print as a light gray) is a BAD thing. In engraving, it's apparently okay. Live and learn. I was also far too heavy-handed with this and need to make smaller markings. Looking at other bulino engravings this weekend in Reno was really helpful. AND, I did not manage to actually remove all the metal I wanted to remove, much of it was just displaced in the form of a raised burr, which is very bad. I have ordered some sharpening equipment and I think that'll be a big help, I really struggled with sharpening the tool by hand and think I messed up the geometry pretty badly which is why I was not able to properly cut the metal.
But all in all a good start and it'll only get better from here! :-)
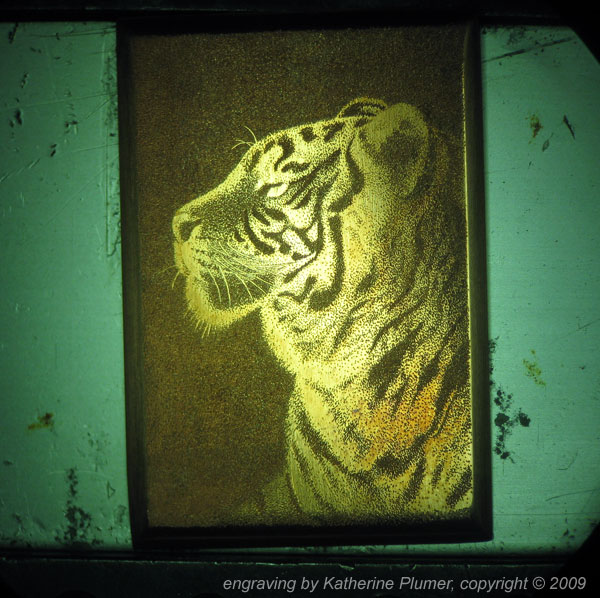
Photographed through the microscope (not inked):
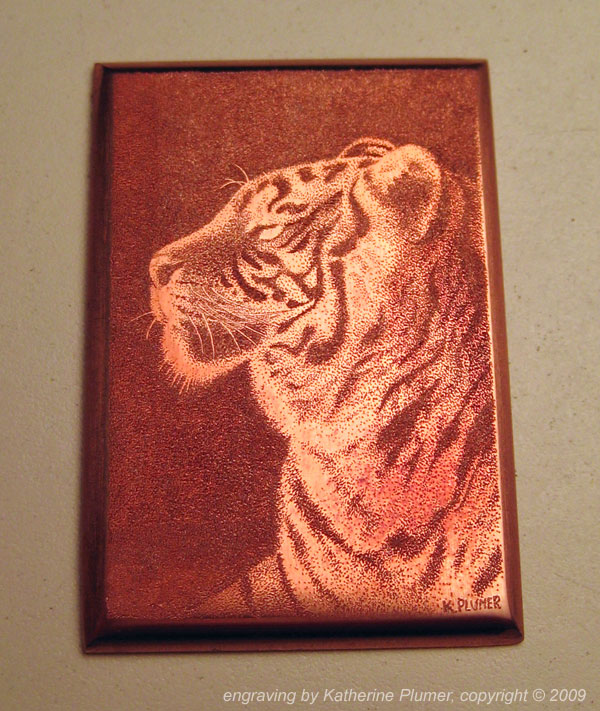
Photographed on my table (not inked):
This piece is not for sale.
On the bright side, it looks like a tiger, so that's good! Definitely a good start but there's a LOT of room for improvement, so it's very much a learning process. I over-polished the piece, it should not be so shiny. Blame my art background for that one. ;-) In the world of printmaking, plate tone (the ink that would catch on a non-polished plate and therefore print as a light gray) is a BAD thing. In engraving, it's apparently okay. Live and learn. I was also far too heavy-handed with this and need to make smaller markings. Looking at other bulino engravings this weekend in Reno was really helpful. AND, I did not manage to actually remove all the metal I wanted to remove, much of it was just displaced in the form of a raised burr, which is very bad. I have ordered some sharpening equipment and I think that'll be a big help, I really struggled with sharpening the tool by hand and think I messed up the geometry pretty badly which is why I was not able to properly cut the metal.
But all in all a good start and it'll only get better from here! :-)
Photographed through the microscope (not inked):

Photographed on my table (not inked):

This piece is not for sale.
Wednesday, January 21, 2009
January 21 work in progress
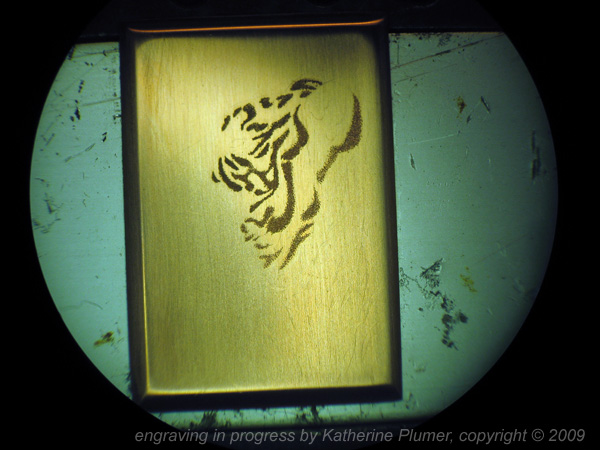
Okay, engraving solid dark areas with this technique is very intense, it really wears my hand out. I could buzz this thing out in about 10 minutes with the airgraver BUT I want to see how long this takes by hand. In order to do the bulino technique properly I need to remove tiny chips of metal (that's what I'm doing). If I just stippled with the airgraver it would merely be displacing, not removing, and would only texture it. Tempting, but no. I REALLY gotta get this done before I go! The background is going to take many many many hours.
Tuesday, January 20, 2009
Monday, January 19, 2009
Sunday, January 18, 2009
January 18 work in progress
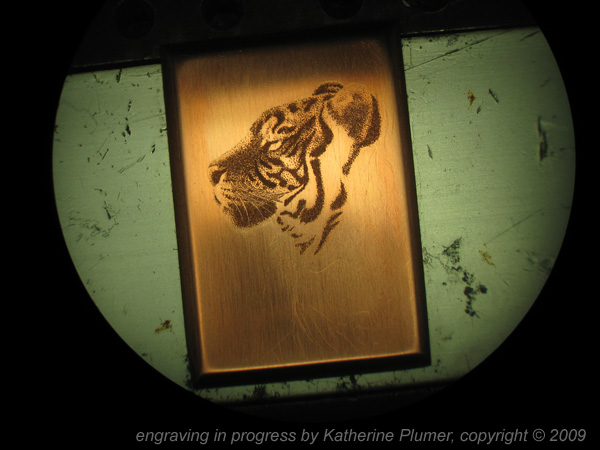
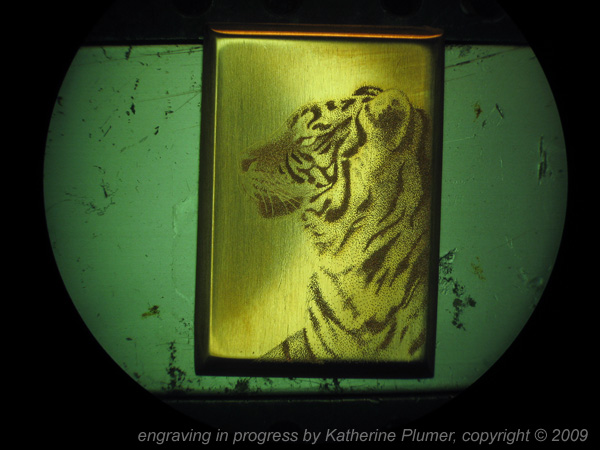
I'm trying to get this done or close to it by next weekend so I can take it to the engraving convention in Reno and find out if I'm doing this right. It's so weird. Looks great one way but in most lighting the image shows up negative and it looks like crap. Evidently that might just be the nature of the beast, so to speak. I can see why people ink them (this is NOT inked in the photograph, it's all in the lighting) but the purists say if it's good you don't have to ink it. Eh. I don't know.
I have no idea why it turned out accurate color in the photo tonight, that was a fluke! Usually the fluorescent ring light on the scope makes the photos turn out a bit green.

tiger engraving
1 x 1.5 inches
on copper
I have no idea why it turned out accurate color in the photo tonight, that was a fluke! Usually the fluorescent ring light on the scope makes the photos turn out a bit green.

tiger engraving
1 x 1.5 inches
on copper
Saturday, January 17, 2009
January 17 work in progress
Subscribe to:
Posts (Atom)