
I've been canning peaches for a few years, and they are WONDERFUL. I got into making jam probably ten years ago, it was something my mom used to do when I was a kid, but she no longer had time, and I hate to see the summer fruit go to waste. And then I guess I figured if I could make jam I could can peaches, because when they are ripe boy they are all ripe at the same time and have to be used! It's really not difficult, but it's enormously time-consuming particularly if you are working alone! Totally worth it though when winter rolls around and you get to eat peaches! So here's how you do it:
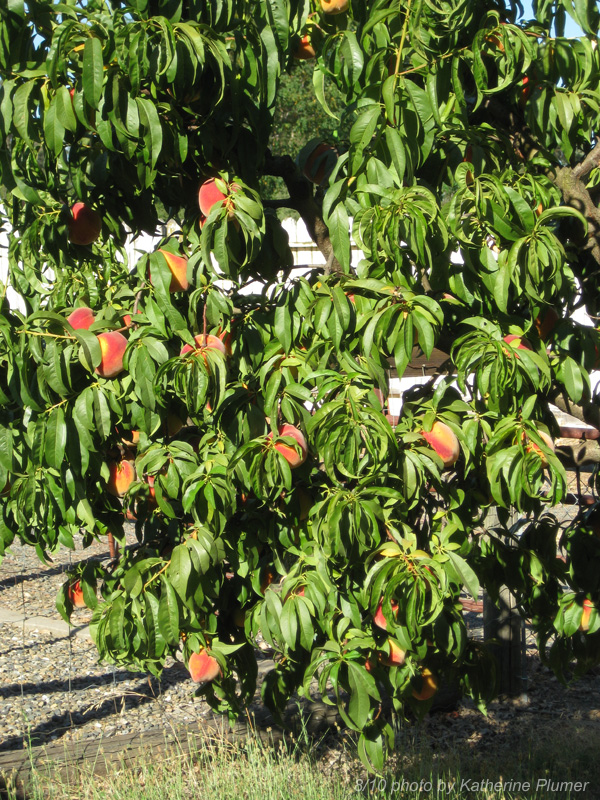
1) Pick the peaches! Or buy them at a place that has good fresh local-grown delicious fruit!
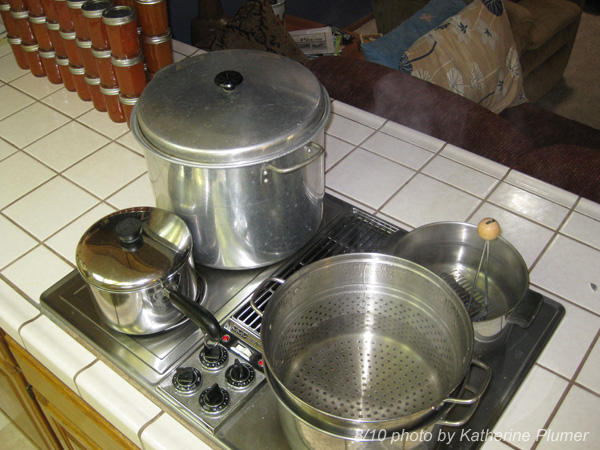
2) Get your stove all set up! On the back left is the big stock pot for boiling the finished jars. On the front left is a pot of boiling sugar water (I use a mixture of 1 part sugar to 2 parts water, you don't end up eating this part (well, you could) it's just used for preserving them). On the back right is a small pot in which I boil the jar lids. And on the front right is a pot for boiling the peaches so that they are easier to skin. Oh yeah, and wash your jars! I don't have a pic of that.
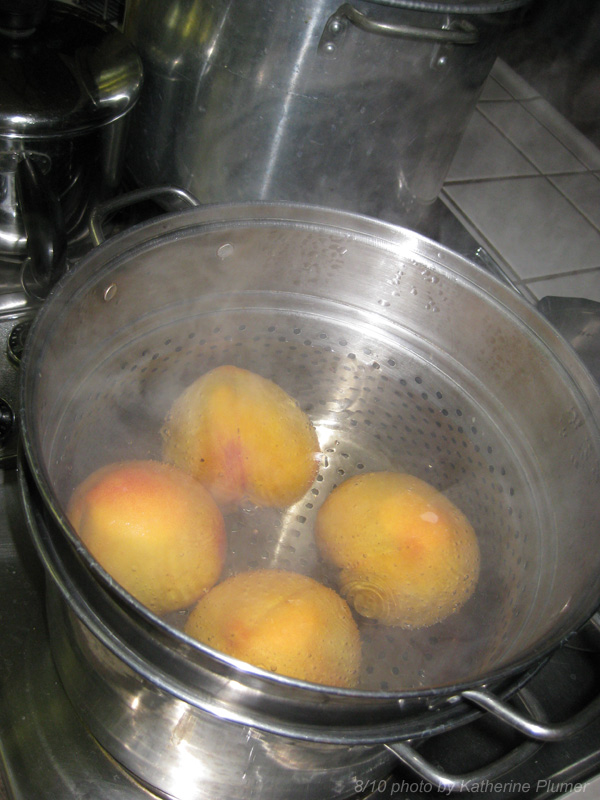
3) Dunk a few peaches at a time into boiling water for 30 seconds.
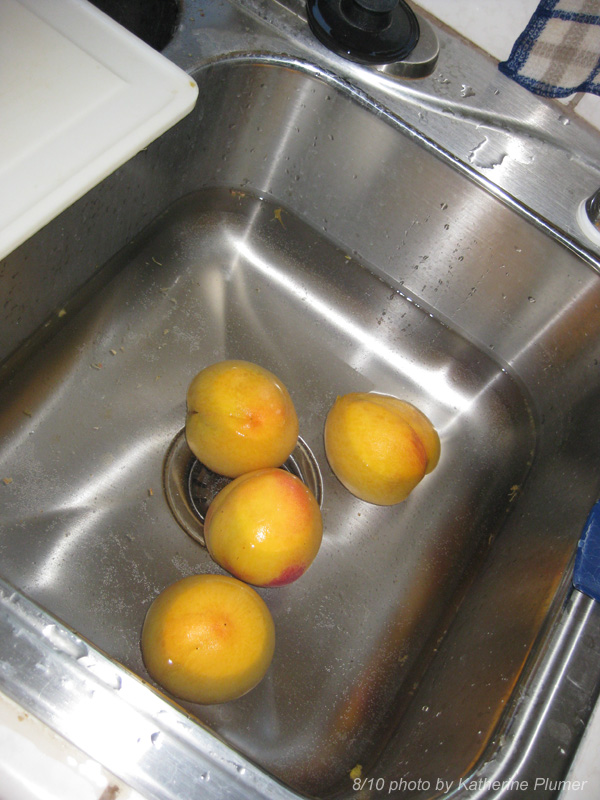
4) Then immediately submerge them in cold water. This will loosen the skin.
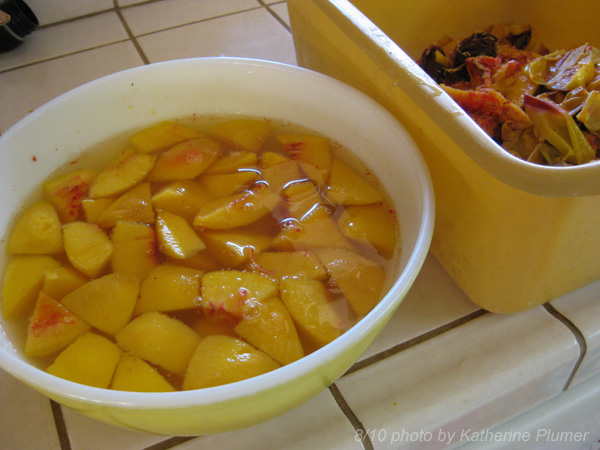
5) Peel and pit the peaches. I cut them into chunks, and drop those into a solution of ascorbic acid (you can get this at the grocery store in the canning section), 1 tsp per 1 cup of water. Make sure they stay in there at least a few minutes, this will keep them from turning brown. Don't rinse this off!
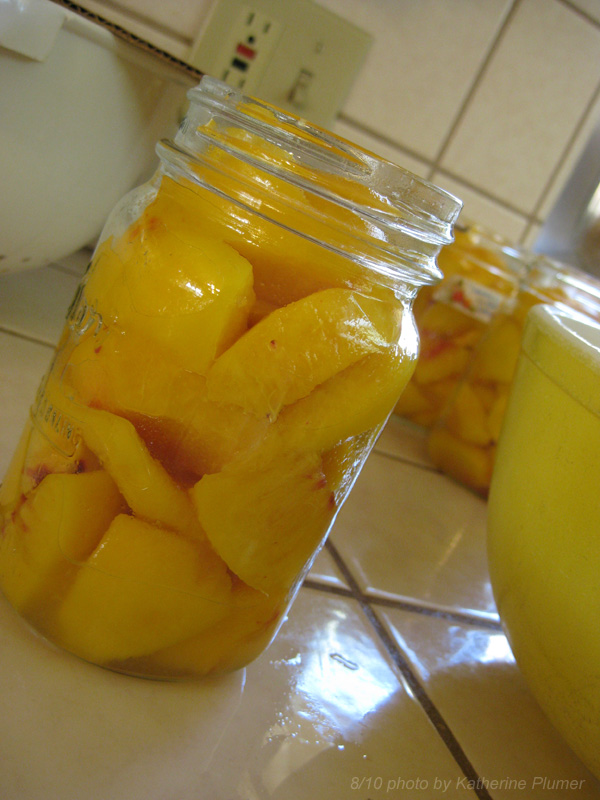
6) Fill the jars! Use some care arranging them so that they pack in as tight as possible, because they will float up.
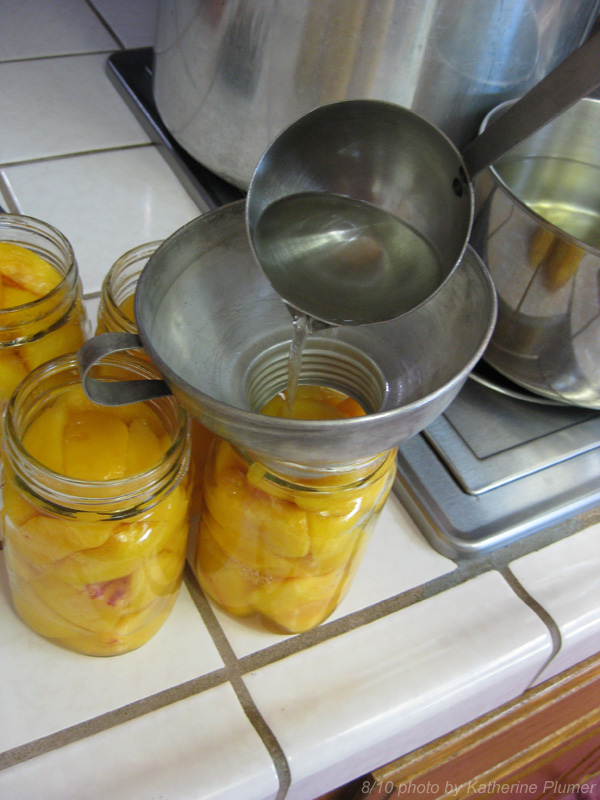
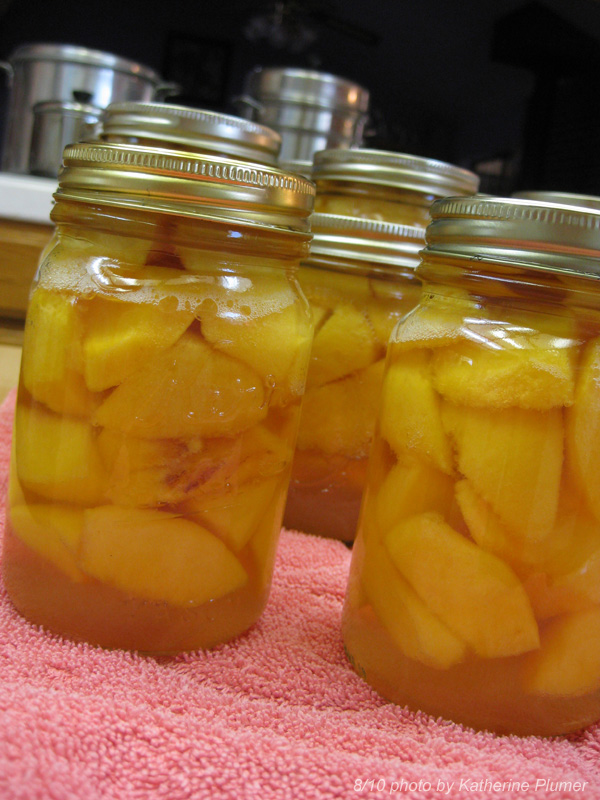
7) Pour the boiling sugar syrup into the jars, leaving almost an inch of head room.
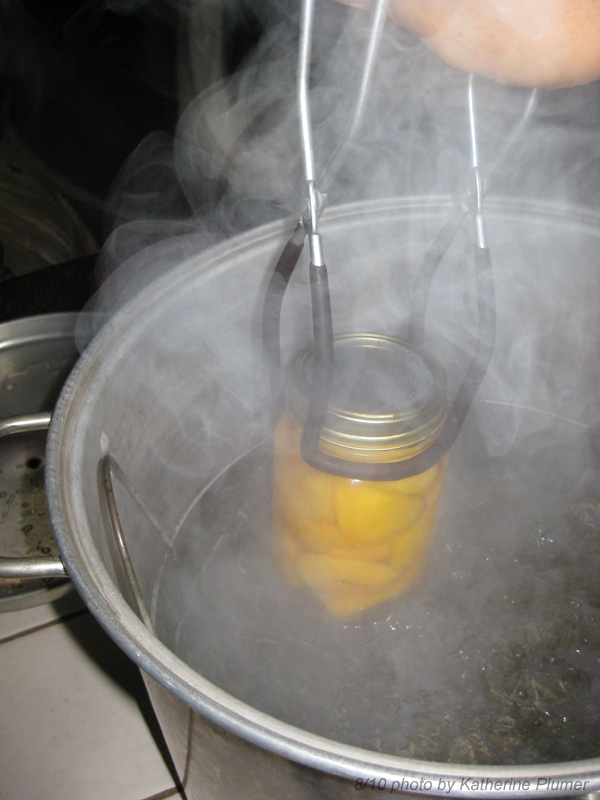
8) You've probably made a sticky mess out of the rim of the jar by this point, so you need to wipe it off really well with a damp paper towel. You don't want any peachy or sugary goo on the rim or it won't seal! Put on the lid (which you have now removed from the boiling water, so it's freshly sterilized), tighten down the ring, and submerge the jars into boiling water for 15 minutes.
9) And there you have it! Canned peaches! It's really kind of magical, they will look just as lovely and fresh a year from now, and taste oh so delicious! You have to make sure your jars seal though! If the lids still make that popping sound when you put your finger on them, they haven't sealed. It can take a while on these big jars, but if they're no longer hot and are heading toward cool and still haven't sealed, take the lid off, clean the rim again, clean the lid again, put it all together again, and put it back in the water bath for 15 minutes. If you keep everything clean, this is unlikely to be a problem. I've never had a jar not seal when canning peaches, and out of 88 jars of jam this year I didn't have a single one not seal.
2 comments:
Those peaches looks so delicious! Unfortunately, my peach trees are way out back of our fields and I didn't think to check on them this year until it was too late. They just had little mold balls on them in place of peaches...not sure what happened :/
Eww, canned mold balls wouldn't be nearly so appetizing! What a disappointment. :-(
Post a Comment