
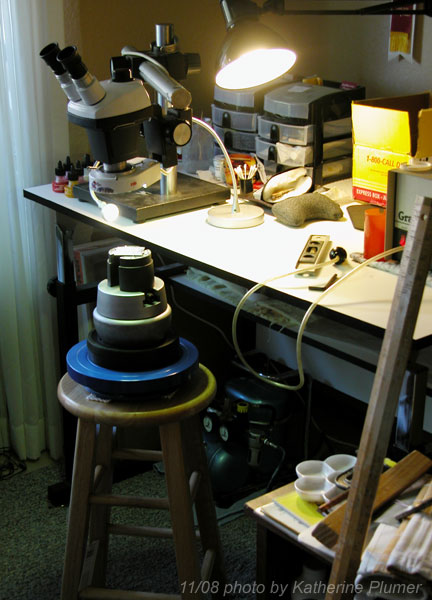

I had originally thought I would still be able to do scrim on the table itself, but now that I've had to move the table, I can see I'm going to just have to put the scrim on the vise too. That okay, I just don't want to actually put it in the jaws, so I need to rig up some sort of flat plate I can clamp onto the vise that will give me a mini table-top on which to work. I'll scout around and see what I can come up with. I predict there may be glue and duct tape involved. I'm not the most mechanically inclined person, so these little attempts of mine are often disastrous, though generally good for entertainment value.
The GraverMate will eventually be upgraded to a different system. The other items won't change. The compressor is fantastic, though with such a tiny tank it's on as often as it's off, and this system bleeds a lot of air (partly that's how it's designed, partly there's a leaky valve on the graver that I don't know how to fix, if any of my brilliant friends would like to look at this I'll happily let you). So when I'm not actively using it, I turn it off. The cats hate it. It's very quiet though. I still need a good sharpening system, I'll have to buy that. I have a couple whet stones around here but the tool geometry is really important and I don't trust myself not to screw that up if I sharpen by hand.
Okay, I'm going to look at something I can cobble together so I can scrim on the vise. I need to get that bison done! The clocks a-tickin' on those Christmas orders.
2 comments:
Wow, I can't wait to see some of your new engraving, it sounds really interesting.
Is engraving on metal similar to the way you would do it if you were going to take an intaglio print from it? Presumably the gravermate is a better way than using burins (ie. the hand tools I use for wood engraving) does it have interchangeable tips for different shapes of cut then?
Yes there are definitely some similarities to intaglio etching, and people can (and do) print engravings though it's not all that common. The goal here is a nice piece of metal, whereas in intaglio the metal was really an afterthought and what you want is a nice print. I definitely plan on printing!
You can use hand burins to engrave, that would push-engraving. You can use hammer and chisel. The gravermate (and other pneumatic tools) actually has a hammer mechanism in the handpiece.
There are interchangeable tips and lots of different shapes of tips. I have a "universal" point in there right now, but they can be ground into lots of different configurations based on what sort of line you want to cut. I will see if I can shoot some closeups of the tip and maybe a little video, though at this point I'm a rank beginner!
Post a Comment